
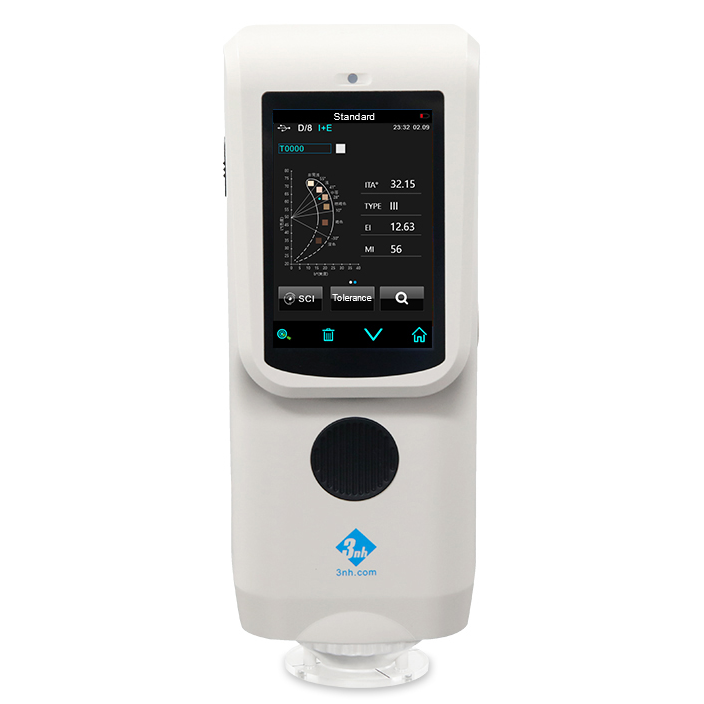
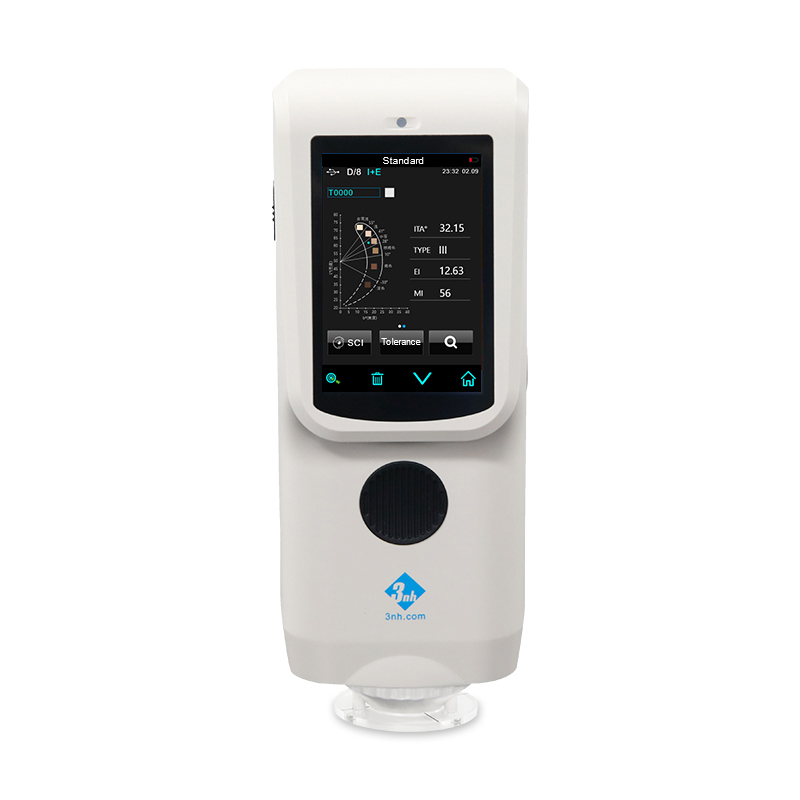
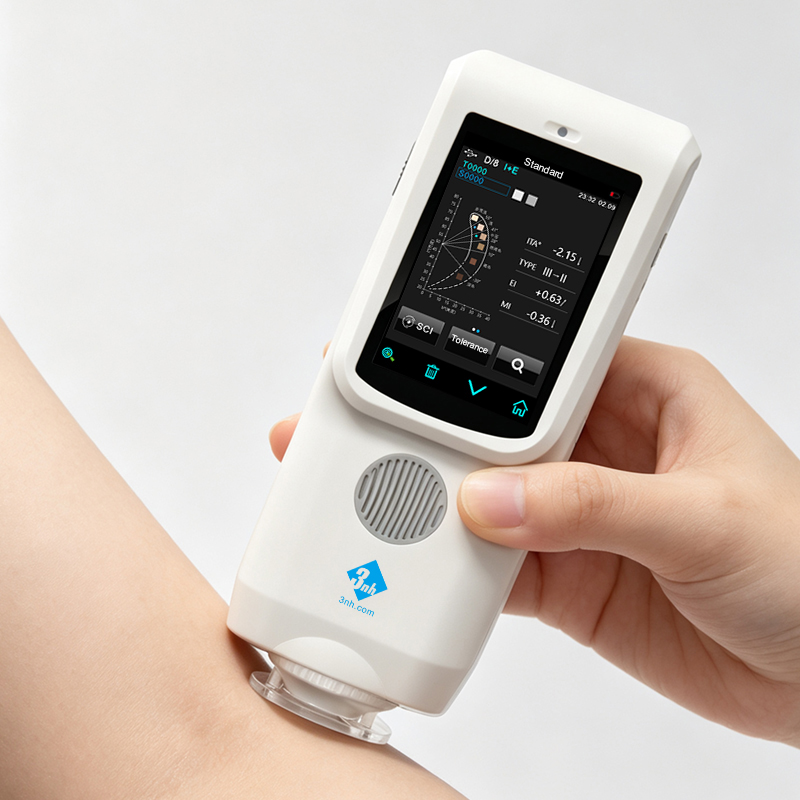
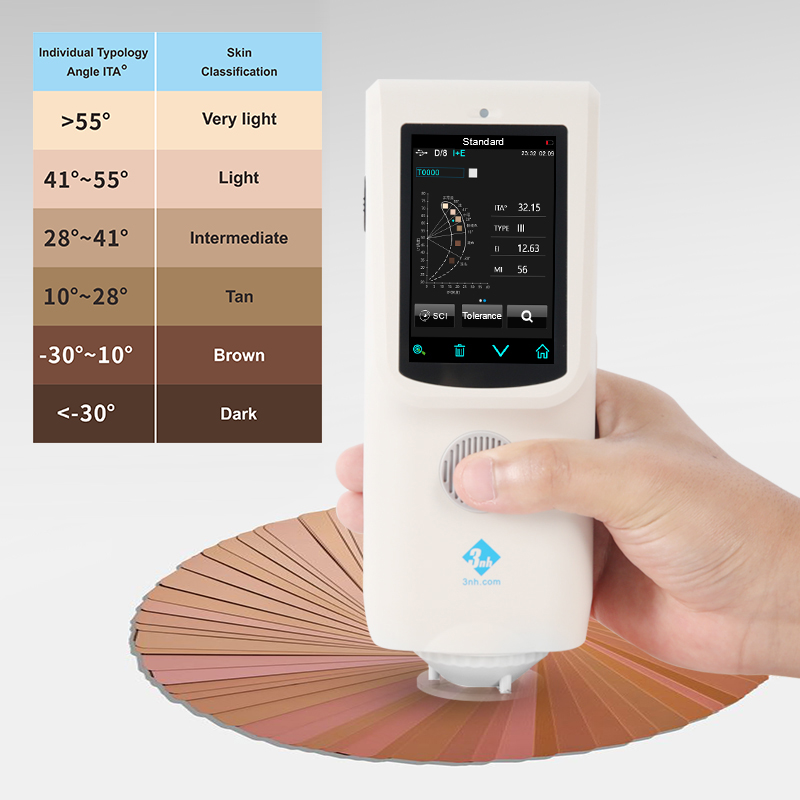
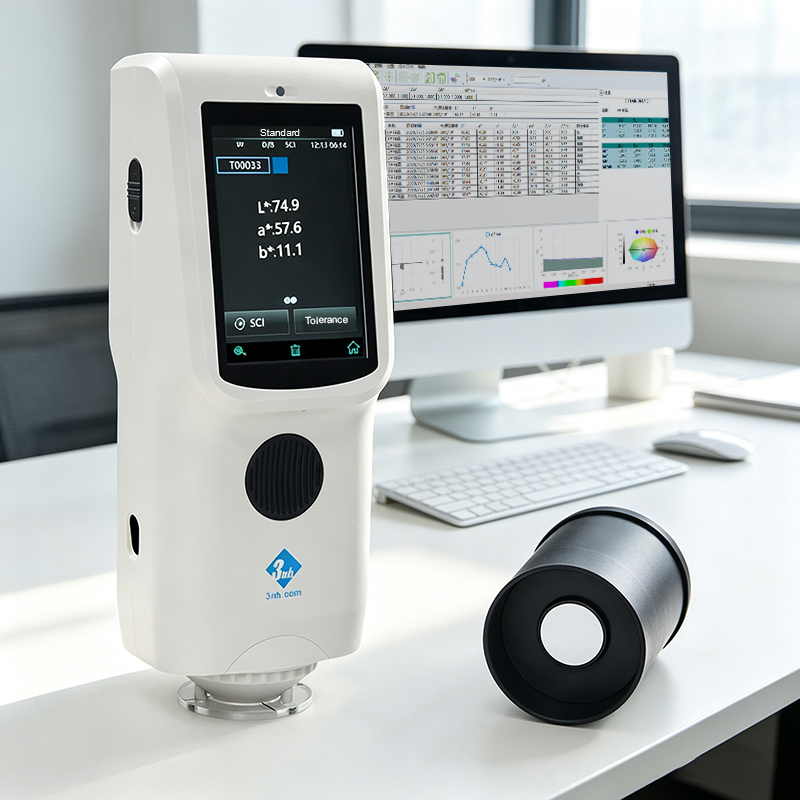
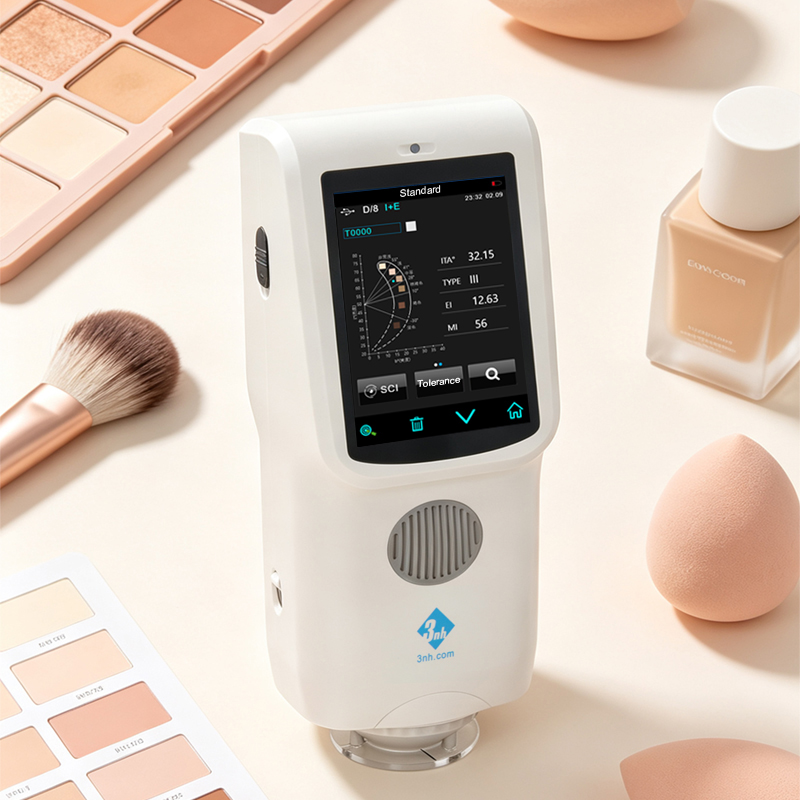
The 3nh PS08 is a research-grade skin analyzer tailored for cosmetics R&D, aesthetic medical efficacy evaluation, and synthetic skin verification. Utilizing a D/8 integrating sphere optical system and supporting simultaneous SCI/SCE measurements, a single skin-contact reading outputs four core indicators: Melanin Index (MI), Erythema Index (EI), Individual Typology Angle (ITA°), and CIE L*a*b* colorimetric values, providing high-precision, traceable skin color data. The core advantage of the PS08 lies in translating international standard colorimetry into objective, quantifiable, and traceable tools for skincare and medical aesthetics, substituting visual guesswork with authoritative data for formula screening, treatment tracking, and personalized skin consultation.
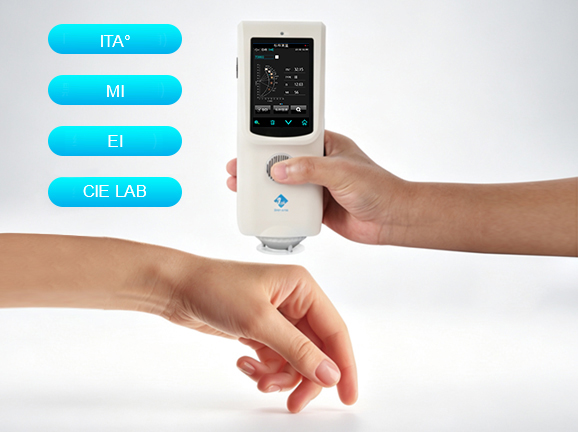
A single measurement outputs four core parameters simultaneously:
Melanin Index (MI): Measures skin pigmentation level to evaluate whitening product efficacy, monitor spot changes, and track post-sun repair.
Erythema Index (EI): Evaluates skin sensitivity, post-treatment recovery in medical aesthetics, and anti-allergy formulation efficacy.
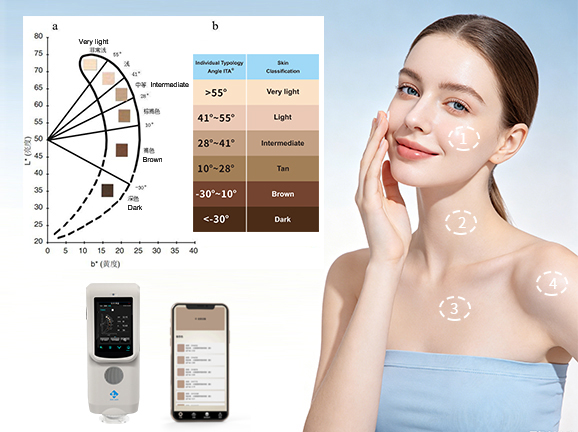
Individual Typology Angle (ITA°): Scientifically classifies skin tone typology, eliminating subjective color guessing.
CIE L*a*b* Color Space: International color language for precise skin coordinate mapping.
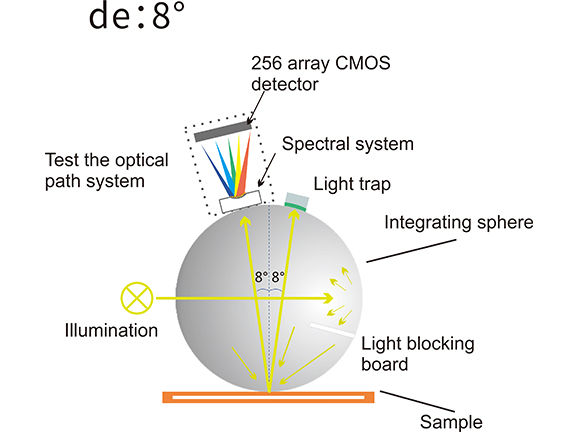
Combines a D/8 optical structure with planar grating spectrophotometry, fully compliant with CIE, GB/T, ASTM, and ISO standards. Immune to ambient lighting, surface gloss, or visual fatigue, enabling long-term, longitudinal comparative tracking.
Each measurement is automatically recorded, allowing users to organize and archive data separately for different body areas, such as the face, neck, chest, and arms. By comparing measurements taken on different dates, including MI, EI, ITA°, and Lab*, users can intuitively determine whether a skincare product is truly effective in reducing dark spots, whether sunscreen effectively helps prevent skin darkening, and whether skin redness is gradually reduced. Measurement data is stored chronologically, allowing users to export the data or generate trend charts to visualize changes over time.
Independent Profiles for Multiple Body Areas: Create separate profiles for the face, neck, chest, arms, and other body areas, enabling zoned management of skin condition across the entire body.
Clear Visualization of Changes: MI, EI, ITA°, and Lab* can all be compared and analyzed. Let the data speak for itself and objectively evaluate skincare results.
Product Efficacy Comparison: Compare measurements taken before, during, and after product use to quantify the actual effects of whitening, soothing, and sun-protection products.
Local Data Storage: Data is stored locally and is not uploaded to the cloud (optional), ensuring maximum privacy and confidentiality.
Let the Data Speak for Itself: No more guesswork in skincare. Let numbers provide objective evidence of skincare results.
For Skincare Influencers, Beauty Experts, and Ingredient Enthusiasts:
Evaluate Sunscreens: Compare EI values before and after sun exposure to assess the effectiveness of sun protection.
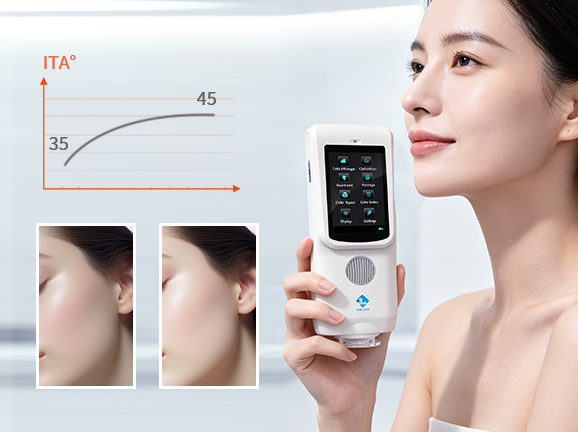
Validate Brightening Serums: Continuously monitor changes in ITA° values to objectively evaluate brightening results over time.
Track Skincare Treatments: Monitor the erythema index to observe how quickly skin redness subsides throughout the treatment process.
Generate Data-Driven Reports: Move beyond subjective impressions and establish professional credibility with research-grade measurements and objective data.
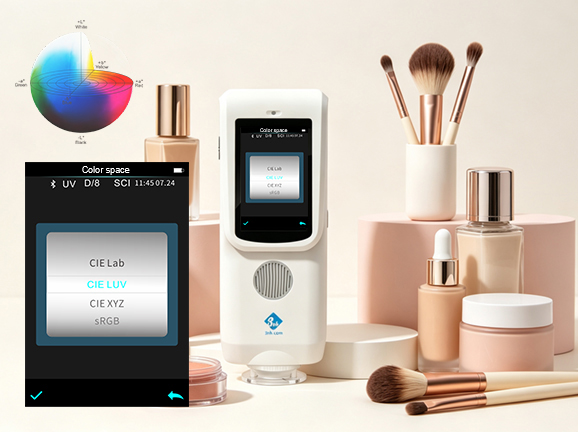
Supports CIE LAB, XYZ, Yxy, LCh color spaces and ΔE*ab color difference calculations. Provides clear axis definitions:
L* (Lightness): Lightness axis (0 = pure black, 100 = pure white); higher values indicate lighter skin tones.
a* (Redness): Red/Green axis; positive values measure redness and inflammation intensity.
b* (Yellowness): Yellow/Blue axis; correlates directly with tanning and melanin deposition.
Target Application Scenarios
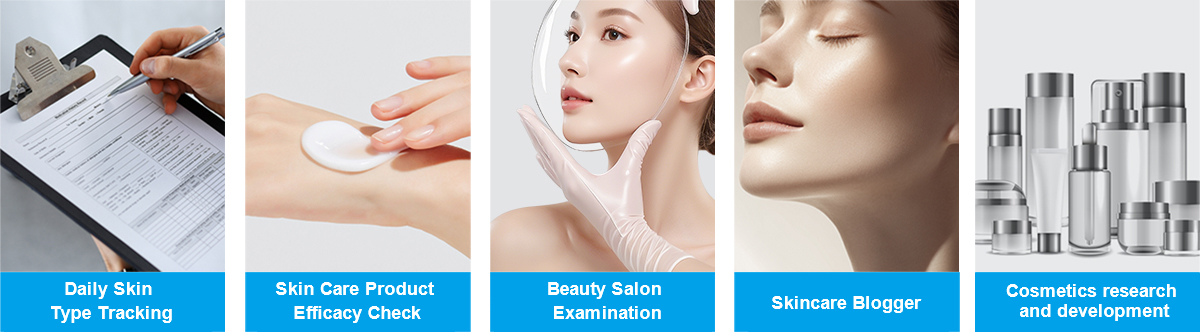
Skincare Efficacy Validation: Quantitative evaluation for whitening, spot reduction, and skin barrier repair.
Medical Aesthetics & Salons: Objective treatment tracking and customer trust building.
Cosmetics R&D: Rapid formulation screening and active ingredient evaluation.
Skincare Bloggers & Content Creators: Scientific data creation and claim verification.
Medical Aesthetics & Salons: Objective treatment tracking and customer trust building.
Cosmetics R&D: Rapid formulation screening and active ingredient evaluation.
Skincare Bloggers & Content Creators: Scientific data creation and claim verification.
Model | PS08 Skin Analyzer |
Illumination Geometry | D/8 (Diffuse illumination, 8° direction reception); SCI/SCE measurement; Complies with CIE No.15, GB/T 3978, GB 2893, GB/T 18833, ISO7724-1, ASTM E1164, DIN5033 Teil7 |
Features | Engineered for skin color measurement; convenient assessment of Individual Typology Angle (ITA°), skin type classification, Melanin Index (MI), and Erythema Index (EI). |
Integrating Sphere Size | Φ40 mm |
Light Source | Combined full-spectrum LED light source |
Spectrophotometric Mode | Planar grating spectrophotometry |
Sensor | Silicon photodiode array (dual-row 32 groups) |
Wavelength Range | 400–700 nm |
Wavelength Interval | 10 nm |
Half Bandwidth | 10 nm |
Measurement Range | L: 0–120; Reflectance: 0–200% |
Measuring Aperture | Single aperture: Φ8 mm |
Focusing Method | Optical focusing |
Specular Component | Simultaneous SCI/SCE testing |
Color Spaces | CIE LAB, XYZ, Yxy, LCh |
Color Difference Formulas | ΔE*ab |
Other Colorimetric Indices | ITA°, Skin Typology Angle, Erythema Index (EI), Melanin Index (MI) |
Observer Angle | 2° / 10° |
Illuminant | D65 |
Display Features | Skin color classification chart, sample colorimetric values, color difference value/graph, PASS/FAIL result, color simulation, color bias |
Display Resolution | 0.01 |
Measurement Time | Approx. 1.5s (Simultaneous SCI/SCE approx. 3.2s) |
Repeatability | Colorimetric value: MAV/SCI, ΔE*ab within 0.04 (Average of 30 measurements on white plate at 5s intervals after warm-up & calibration) |
Inter-Instrument Agreement | MAV/SCI, ΔE*ab within 0.35 (Average across 12 BCRA Series II color tiles) |
Accuracy Guarantee | Passed National Metrology Compliance |
Measurement Method | Single measurement, Average measurement (2–99 times) |
Locating Method | Stabilizer plate positioning |
Dimensions | 81X71X214mm |
Weight | Approx. 460 g |
Battery Capacity | Rechargeable lithium battery; 6000 measurements within 8 hours |
Light Source Lifespan | 5 years or over 3 million measurements |
Display Screen | 3.5-inch TFT color capacitive touchscreen |
Interfaces | USB, Bluetooth |
Data Storage | 1000 Standards, 20,000 Samples (includes SCI/SCE); Massive APP storage |
Languages | Simplified Chinese, English, Traditional Chinese |
Operating Environment | 0–40°C, 0–85% RH (non-condensing), Altitude: Below 2000m |
Storage Environment | -20–50°C, 0–85% RH (non-condensing) |
Standard Accessories | Power Adapter, Data Cable, User Manual, SQCX QC Software, Black & White Calibration Box, Protective Cover, Wrist Strap, Φ8mm Pointed Nozzle Aperture, MOBCCS APP |
Optional Accessories | USB Micro Printer, Powder Test Box, Bluetooth Micro Printer |
Remarks | Technical specifications are for reference only and subject to actual sales products. |
1. When I received NH310/NH300 colorimeter and perform measurement, why the measured data is abnormal?
After receiving NH310/NH300, you have to perform white and black calibration manually when first starting.
2. In which condition, manual white and black calibration and auto calibration are required for NH310?
a. It’s needed to perform manual calibration for NH310 when first starting.
b. In the subsequent starting, NH310 will perform auto calibration at startup. No need to perform manual calibration.
c. Suggestion: it’s best to perform manual calibration once a week or when NH310 measured data is not accurate.
3. In which condition, manual white and black calibration for NH300 is required?
a. It’s needed to perform manual calibration for NH300 when first starting.
b. In the subsequent starting, no need to perform manual calibration.
c. Suggestion: it’s best to perform manual calibration once a week or when NH300 measured data is not accurate.
4. How to replace NH310 measuring aperture?
There are three measuring apertures for NH310: Φ8mm (standard accessory), Φ4mm (standard accessory), extended Φ8mm (optional accessory)
a. Turning on
b. Removing measuring aperture, install the needed measuring aperture.
c. Select “Settings-Aperture Setting” in main menu to select corresponding measuring aperture.
d. After selecting aperture, the instrument will display “White and Black Calibration” interface. White and black calibration must be performed.
e. Replace completed.
5. CQCS3 (Color Quality Control System) Installation
a. Before installation, please Copy CQCS3 folder to your computer and don’t remove any files in CQCS3 folder.
b. Double-click the setup.exe to install CQCS3 software.
c. Then double-click Install.bat under the CQCS3\USB_Driver file to install the driver.
d. Detailed installation information please read the "Installing Software" under CQCS3 User manual.doc.
6. How to check communication port?
a. Connect colorimeter to the PC with USB cable.
b. Turn on the colorimeter to enter main menu. Select “Comm” and press “Enter” key to start communication.
c. Right click on “My Computer” on the desktop. Click “Manage” -> “Device Manager” -> “Ports”, you can see similar display as “SCI USB2Serial (COM6)”.
d. Click “Settings->Communication Parameters” in CQCS3 software interface. Select the corresponding port in “Serial Port”.
7. After completing CQCS3 installation, how to solve the problem if it display “! USB Device” or “! SCI USB2Serial (COM6)” when checking the communication port?
a. Right click “! USB Device” or “! SCI USB2Serial (COM6)”, “Update Driver” -> “Install from a list or specific location (Advanced)” -> “Next” ->“Include this location in the search” -> “Browse”, specify USB driver file path “CQCS3\USB_Driver”, click “Next”. Then it will install successfully.
b.Detailed installation information please refers to “2.2 Installing USB Driver” in Color Quality Management System User Manual.doc.
8. Notes for First Using CQCS3 Software
a. Users must specify Standard File Name, Sample File Name and Sample Database File Name when first use.
b.Standard File is use to store standard measurement data. Sample File is used to store sample measurement data. Sample Database File is used to store the measured data exported from sample records.
9. How to solve the problem when “Connection Timeout” occurred?
a. When the colorimeter is disconnected to the PC, “Connection Timeout” will occur. At the moment, you have to check whether the USB cable is well connected the colorimeter and the PC. Then you can re-plug the USB to try out.
b. After ensuring the colorimeter is connected to the PC with USB cable, turn on the colorimeter and enter the main menu. Select “Comm” and press “Enter” key to start communication.
c. Turn off CQCS3 software, and reopen it.
10. How to solve the problem when the interface display "USB Disconnect"
a. Check whether the USB cable is connected. If not, please connect it. Check whether the connection is effective. You can re-plug the USB cable to test.
b. If the USB cable is connected well but the interface still displays "USB Disconnect", please re-start the colorimeter and enter "Menu" -"Comm"to start the communication.
c. Change the USB cable or change the USB port in you PC.
11. How to solve the problem when the colorimeter cannot be turned on in the condition of battery-powered?
a. If this phenomenon occurred, it means the battery power is not enough. You need to charge the battery.
b. When charge the battery, please insert the battery to the instrument, and plug in the adapter to charge the battery. After 5 minutes, the instrument can be turned on.
c. If the instrument still cannot be turned on after charging 5 minutes, you can pull out the adapter and re-plug in to check it. Or repeat this operation.
d. If the instrument still cannot be turned on after charging 5 minutes, you can turn off the colorimeter and turn on it again to check it. Or repeat this operation.
e. If you have tried all the methods above but the colorimeter still cannot be turned on, please change the battery.
