ST10 is a new portable spectrocolorimeter with 3nh own core research and development technology.
It is easy to use and can be measured with one click. It uses a built-in large area silicon photodiode array sensor. It has excellent repeatability and inter-station difference, the measured data are steady, accurate and reliable.
ST10 spectrocolorimeter with Φ8MM/φ10mm platform measuring aperture, in plastic electronics, paint coating, textile printing and dyeing, printing paper products, automotive, medical, cosmetics and food industries, scientific research institutions, laboratories are widely used.
Characteristics of the array spectrocolorimeter ST10
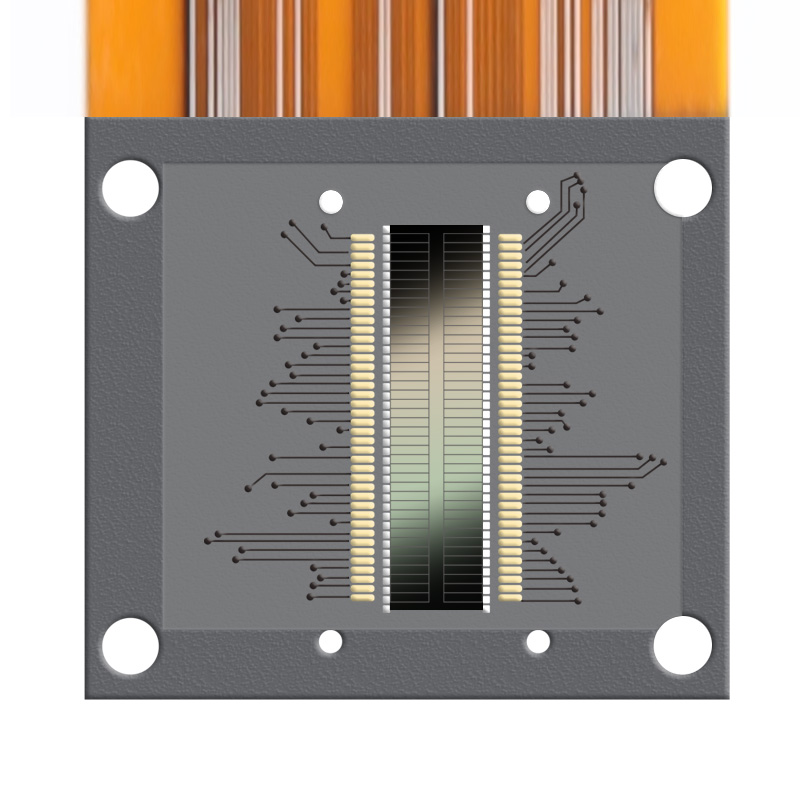
1.Silicon photodiode array sensor
The larger array sensor, the stronger light will not be saturated, the lower light sensitivity is higher and the wider spectrum response range, has guaranteed the instrument measurement speed, the accuracy, the stability and the consistency, grasps the core technology, with the same platform of international standards, achieve perfect compatibility.
2.Adopt full waveband balanced LED light source
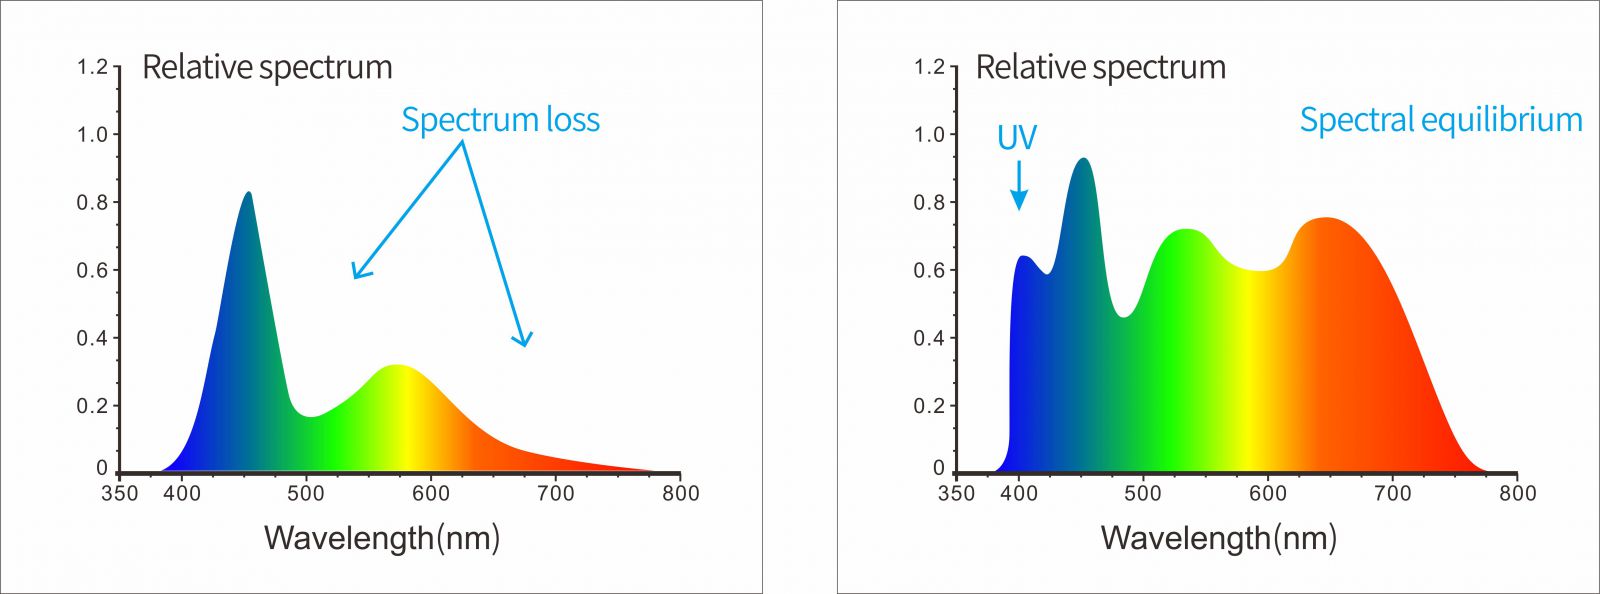
ST10 spectrocolorimeter adopts 400 ~ 700nm full waveband balanced LED light source as the illumination light source, which has enough spectrum distribution in the visible light range and avoids the loss of the spectrum of white LED in the specific wave band.
3.Grating splitting technology
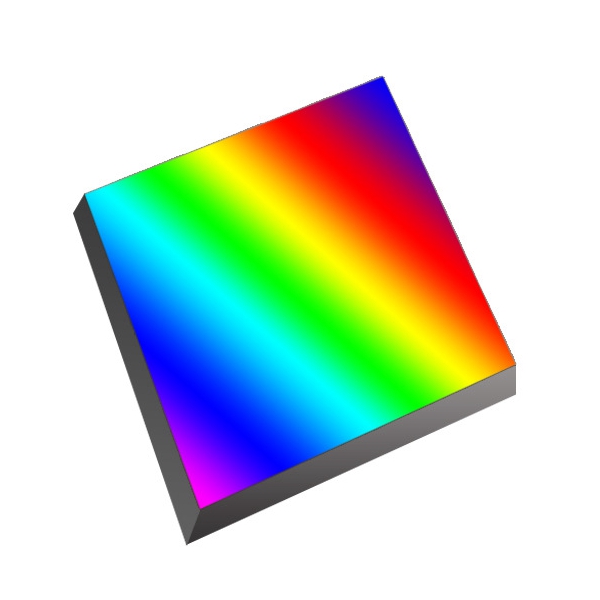
The use of plane grating spectroscopy technology, with a higher resolution, so that more accurate color measurement.
4.Intelligent base, automatic calibration
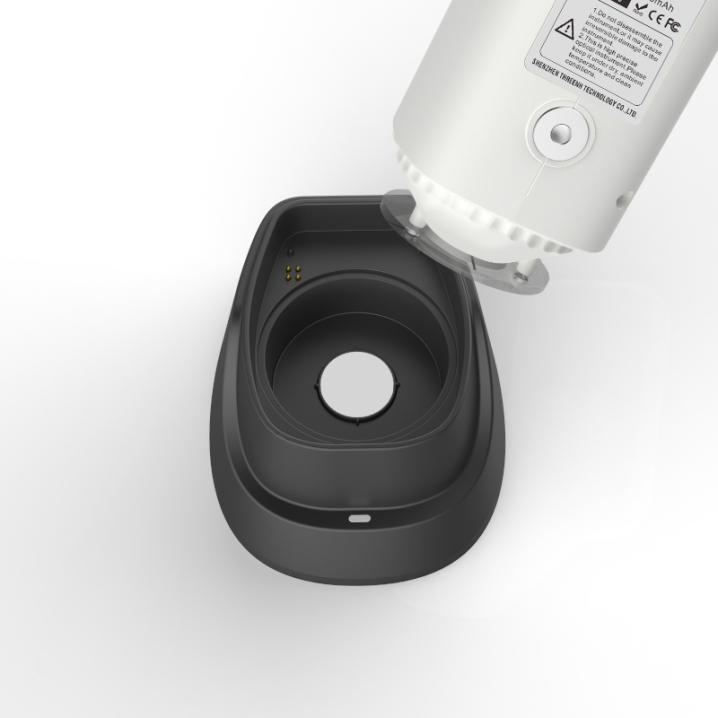
It is equipped with intelligent calibration base, can carry out automatic white board calibration, professional grade standard white board reflectivity R% ≥95% , good surface uniformity, high stability, can obtain repeated accurate data.
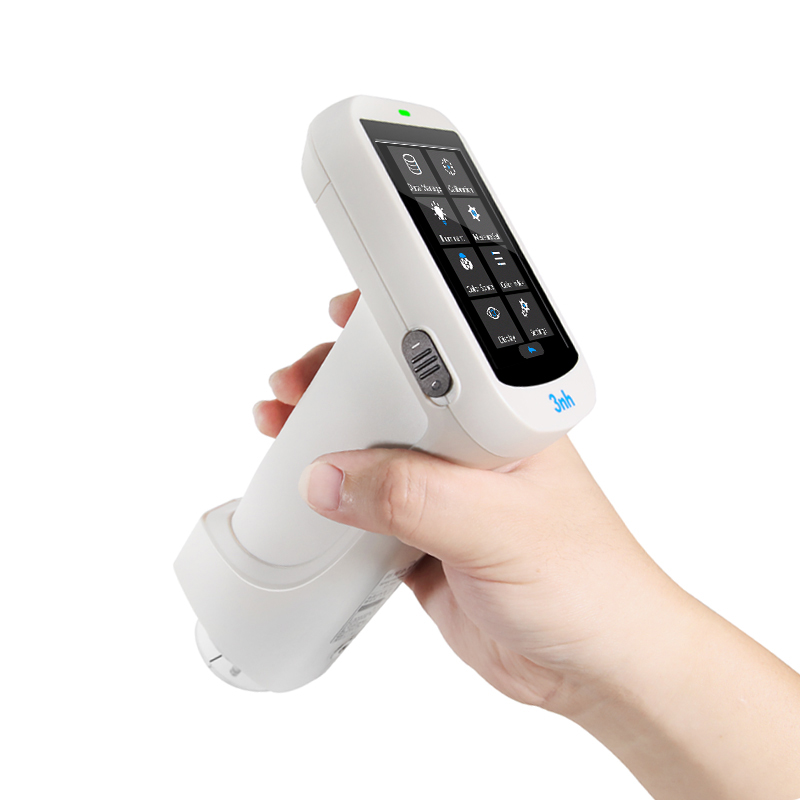
5.New fashion appearance design based on ergonomics
The hand-held position and the position of the measuring button are carefully designed to meet different holding habits, smooth and fine surface, derived from the professional appearance treatment technology.
6.Excellent interstation and repeatability
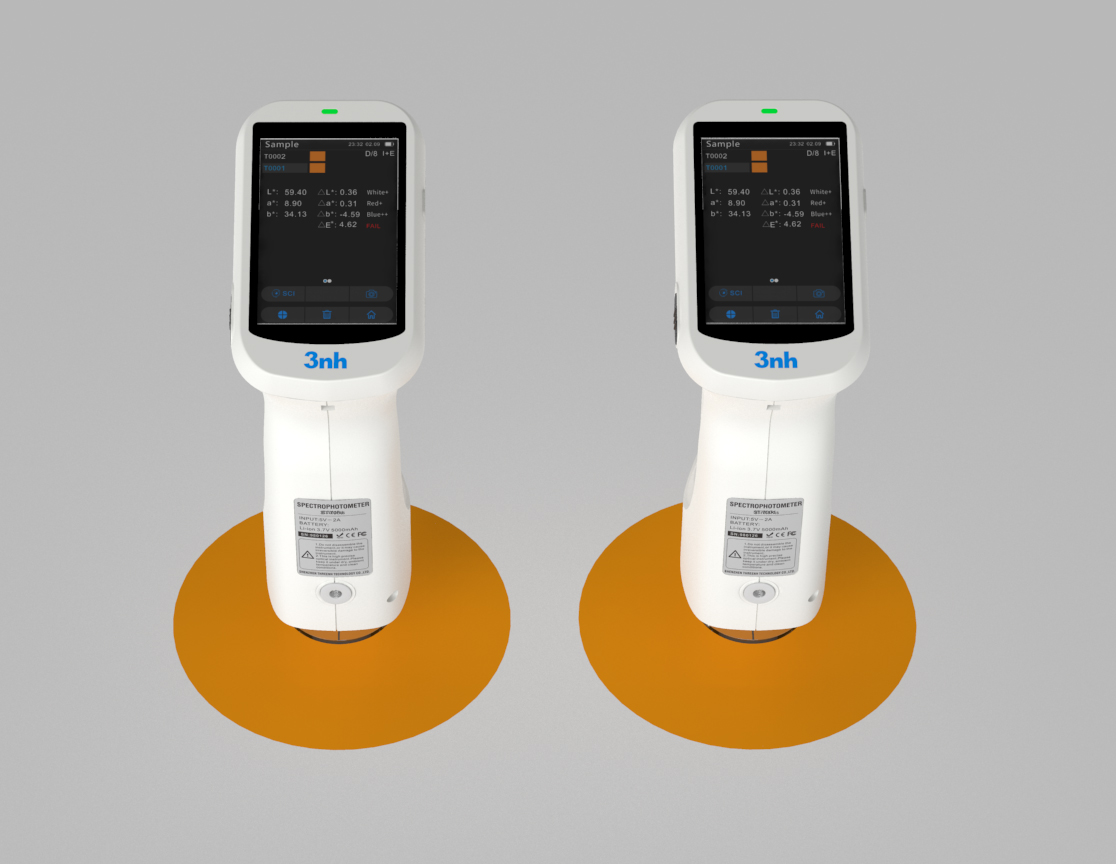
The repeatability ΔE * ab ≤0.05, the Inter-instrument Error ΔE * AB ≤0.4 data is stable and reliable, which ensures the consistency of the data measured by multiple devices, and can be used for color matching and accurate color transfer.
7.Color management software
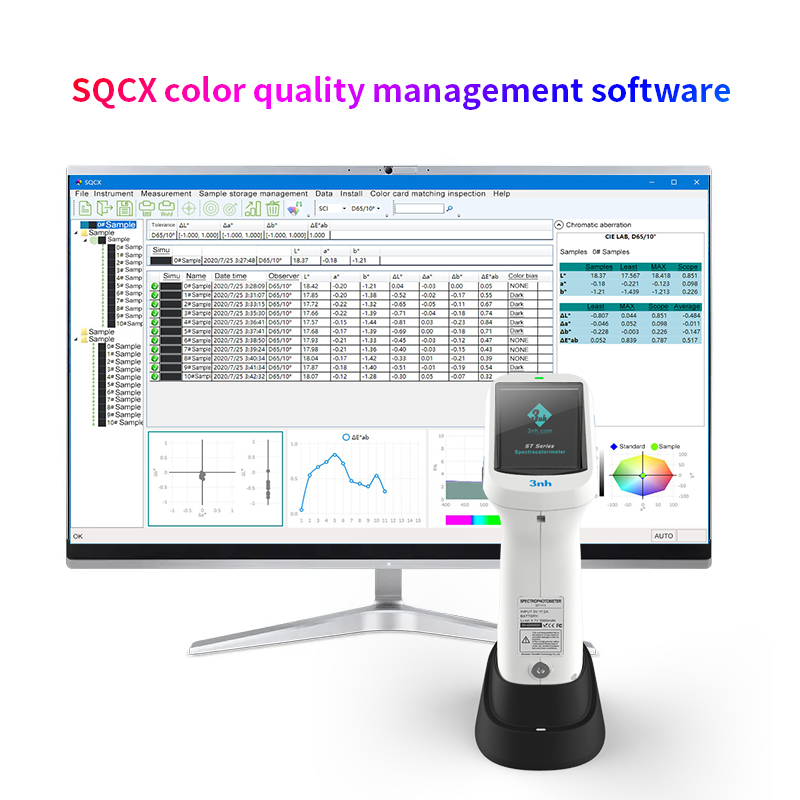
The array spectrocolorimeter ST10 is equipped with SQCX software, which is suitable for quality monitoring and color data management in various industries. The user's color management data, compare color differences, generate test reports, provide a variety of color space measurement data, customized customer color management.
ST10 technical parameters of the spectrocolorimeter
| Product name | ST10 spectrocolorimeter | |
| Optical Geometry | D/8(diffused illumination, 8-degree viewing angle) | |
| Specular Component | SCI Including the specular reflection of light | |
| Meet The Criteria | CIE NO.15,GB/T 3978,GB 2893,GB/T 18833,ISO7724-1,ASTM E1164,DIN5033 Teil7 | |
| Repeatability* | ΔE*ab≤0.05 | |
| Inter-instrument Error** | ΔE*ab≤0.4 | |
| Displayed Accuracy | 0.01 | |
| Measuring/Illuminating Aperture*** |
| |
| Measurement Indicators | Spectral reflectivity, CIE-Lab, CIE-LCh, HunteLab, CIE-Luv, XYZ, Yxy, RGB, chromatic aberration (ΔE * ab, ΔE * CMC, ΔE * 94, ΔE * 00) , whiteness (ASTM E313-00, ASTM E313-73, CIE/ISO, AATCC, Hunter, Taube Berger Stensby) , yellows (ASTM D1925, ASTM E313-00, ASTM E313-73) ,staining fastness, color-changing fastness, etc. (some of the indicators were achieved by PC) | |
| Illuminant | D65,A,C,D50,F2,F7,F11 | |
| Displayed Data | Samples Chromaticity Values, Color Difference Values/Graph, PASS/FAIL Result, Color Simulation, Color Offset | |
| Light Source | Combined full spectrum LED light source | |
| Locating Method | Stability film, visual | |
| Calibration | Intelligent automatic calibration (Contact Type) | |
| Observer Angle | 2°,10° | |
| Integrating Sphere Size | 40mm | |
| Spectrophotometric Mode | Flat Grating | |
| Sensors | Large-area silicon photodiode array ( double-row 20 group) | |
| Wavelength Interval | 10nm | |
| Wavelength Range | 400-700nm | |
| Measured Reflectance Range | 0-200% | |
| Reflectivity resolution | 0.01% | |
| Measurement Mode | Single Measurement, Average Measurement(2-99times) | |
| Measuring Time | About 1s | |
| Size | L * W * H=114 X 70 X 208mm | |
| Weight | About 435g(Calibration block not included) | |
| Battery | Li-ion battery, 8500 measurements within 8 hours | |
| Illuminant Life Span | 10 years, more than 1.5 million times measurements | |
| Display | 3.5-inch TFT color LCD, Capacitive Touch Screen | |
| Data Port | USB | |
| Data Shorage | Standard 500 Pcs, Sample 10000 Pcs, Mass storage on PC side | |
| Software Support | Windows | |
| Language | Simplified Chinese, English, Traditional Chinese | |
| Operating Environment | 0~40℃, 0~85%RH (no condensing), Altitude < 2000m | |
| Storage Environment | -20~50℃, 0~85%RH (no condensing) | |
| Standard Accessory | Power Adapter, USB Cable, User Guide, PC Software(Download from office website), White and Black Calibration Cavity, Protective Cover, Wrist strap, 8mm flat aperture, 4mm tip aperture | |
| Optional Accessory | USB Micro Printer, Powder Test Box | |
| Notes: * 30 standard deviations of the whiteboard were measured at a 5-second interval after whiteboard calibration; ** BCRA Series II 12-panel measurement average; *** The illumination aperture is the actual aperture size of the instrument; If there are any changes to the above parameters, without prior notice. | ||
1. When I received NH310/NH300 colorimeter and perform measurement, why the measured data is abnormal?
After receiving NH310/NH300, you have to perform white and black calibration manually when first starting.
2. In which condition, manual white and black calibration and auto calibration are required for NH310?
a. It’s needed to perform manual calibration for NH310 when first starting.
b. In the subsequent starting, NH310 will perform auto calibration at startup. No need to perform manual calibration.
c. Suggestion: it’s best to perform manual calibration once a week or when NH310 measured data is not accurate.
3. In which condition, manual white and black calibration for NH300 is required?
a. It’s needed to perform manual calibration for NH300 when first starting.
b. In the subsequent starting, no need to perform manual calibration.
c. Suggestion: it’s best to perform manual calibration once a week or when NH300 measured data is not accurate.
4. How to replace NH310 measuring aperture?
There are three measuring apertures for NH310: Φ8mm (standard accessory), Φ4mm (standard accessory), extended Φ8mm (optional accessory)
a. Turning on
b. Removing measuring aperture, install the needed measuring aperture.
c. Select “Settings-Aperture Setting” in main menu to select corresponding measuring aperture.
d. After selecting aperture, the instrument will display “White and Black Calibration” interface. White and black calibration must be performed.
e. Replace completed.
5. CQCS3 (Color Quality Control System) Installation
a. Before installation, please Copy CQCS3 folder to your computer and don’t remove any files in CQCS3 folder.
b. Double-click the setup.exe to install CQCS3 software.
c. Then double-click Install.bat under the CQCS3\USB_Driver file to install the driver.
d. Detailed installation information please read the "Installing Software" under CQCS3 User manual.doc.
6. How to check communication port?
a. Connect colorimeter to the PC with USB cable.
b. Turn on the colorimeter to enter main menu. Select “Comm” and press “Enter” key to start communication.
c. Right click on “My Computer” on the desktop. Click “Manage” -> “Device Manager” -> “Ports”, you can see similar display as “SCI USB2Serial (COM6)”.
d. Click “Settings->Communication Parameters” in CQCS3 software interface. Select the corresponding port in “Serial Port”.
7. After completing CQCS3 installation, how to solve the problem if it display “! USB Device” or “! SCI USB2Serial (COM6)” when checking the communication port?
a. Right click “! USB Device” or “! SCI USB2Serial (COM6)”, “Update Driver” -> “Install from a list or specific location (Advanced)” -> “Next” ->“Include this location in the search” -> “Browse”, specify USB driver file path “CQCS3\USB_Driver”, click “Next”. Then it will install successfully.
b.Detailed installation information please refers to “2.2 Installing USB Driver” in Color Quality Management System User Manual.doc.
8. Notes for First Using CQCS3 Software
a. Users must specify Standard File Name, Sample File Name and Sample Database File Name when first use.
b.Standard File is use to store standard measurement data. Sample File is used to store sample measurement data. Sample Database File is used to store the measured data exported from sample records.
9. How to solve the problem when “Connection Timeout” occurred?
a. When the colorimeter is disconnected to the PC, “Connection Timeout” will occur. At the moment, you have to check whether the USB cable is well connected the colorimeter and the PC. Then you can re-plug the USB to try out.
b. After ensuring the colorimeter is connected to the PC with USB cable, turn on the colorimeter and enter the main menu. Select “Comm” and press “Enter” key to start communication.
c. Turn off CQCS3 software, and reopen it.
10. How to solve the problem when the interface display "USB Disconnect"
a. Check whether the USB cable is connected. If not, please connect it. Check whether the connection is effective. You can re-plug the USB cable to test.
b. If the USB cable is connected well but the interface still displays "USB Disconnect", please re-start the colorimeter and enter "Menu" -"Comm"to start the communication.
c. Change the USB cable or change the USB port in you PC.
11. How to solve the problem when the colorimeter cannot be turned on in the condition of battery-powered?
a. If this phenomenon occurred, it means the battery power is not enough. You need to charge the battery.
b. When charge the battery, please insert the battery to the instrument, and plug in the adapter to charge the battery. After 5 minutes, the instrument can be turned on.
c. If the instrument still cannot be turned on after charging 5 minutes, you can pull out the adapter and re-plug in to check it. Or repeat this operation.
d. If the instrument still cannot be turned on after charging 5 minutes, you can turn off the colorimeter and turn on it again to check it. Or repeat this operation.
e. If you have tried all the methods above but the colorimeter still cannot be turned on, please change the battery.