75 ° High Precision Gloss Meter YG75 is a professional instrument for measuring the gloss of an object surface. It uses the 75 ° angle measurement method to accurately measure the gloss of the product surface and is widely used in gloss measurement and quality inspection in paper, film, plastic and other industries.
75° High Precision Gloss Meter YG75 Product Features
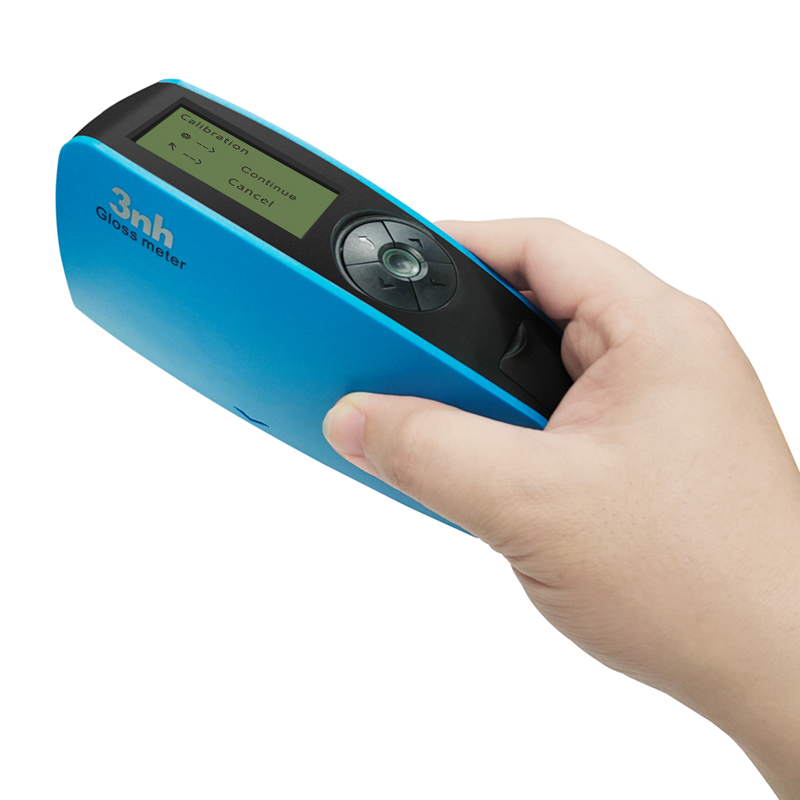
1. Good operating experience
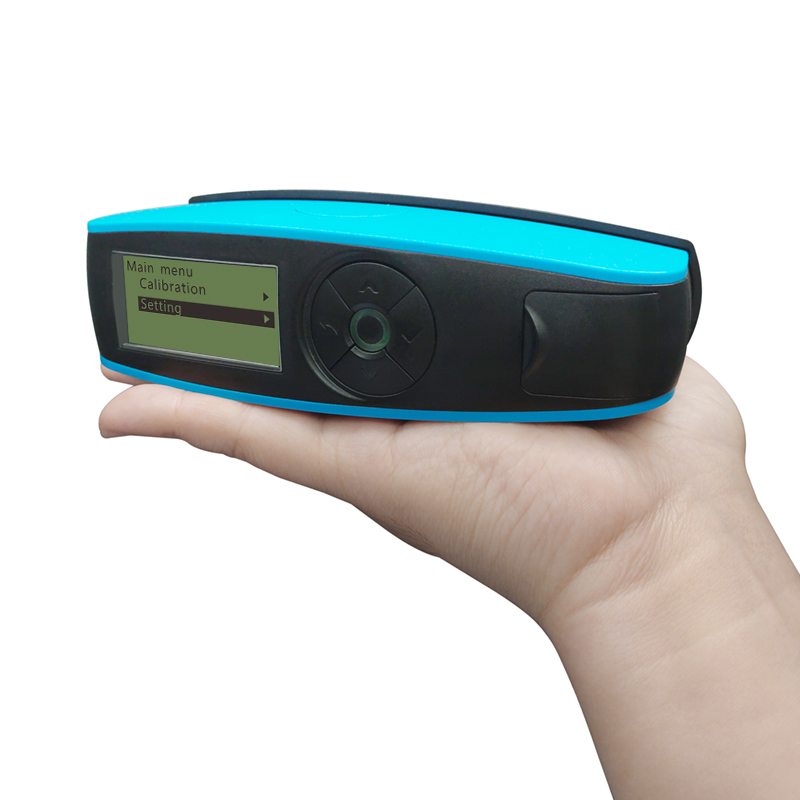
The streamlined curved surface design is more ergonomic, and it can maintain a comfortable grip even in daily or continuous work, effectively avoiding fatigue and bringing a good operating experience to users.
2. Multi-mode measurement
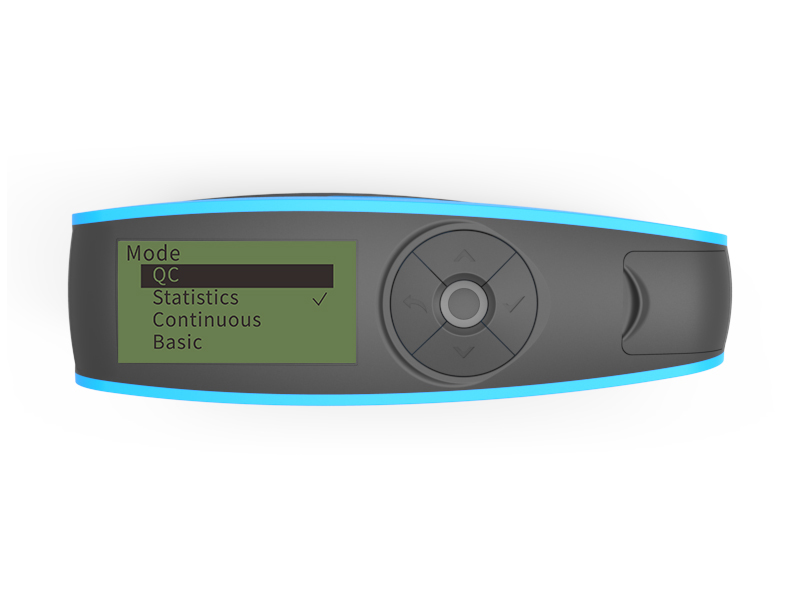
Supports switching between basic mode, statistical mode, continuous mode, and quality control mode to adapt to different application scenarios. The normal mode allows for immediate measurement and fast readings; the quality control mode allows for custom upper and lower limits to achieve fast incoming material testing .
3. Low power consumption
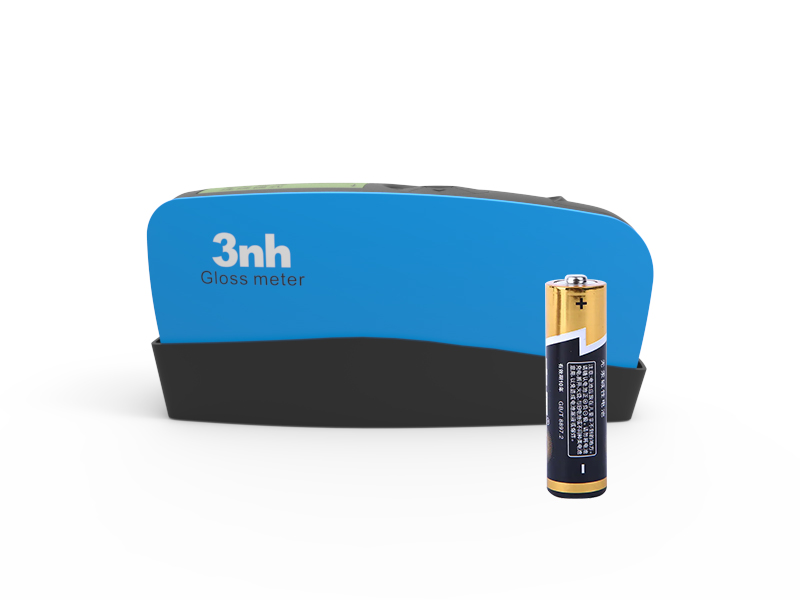
A fully charged AA alkaline battery or NiMH rechargeable battery can measure more than 10,000 times.
4. Calibration function
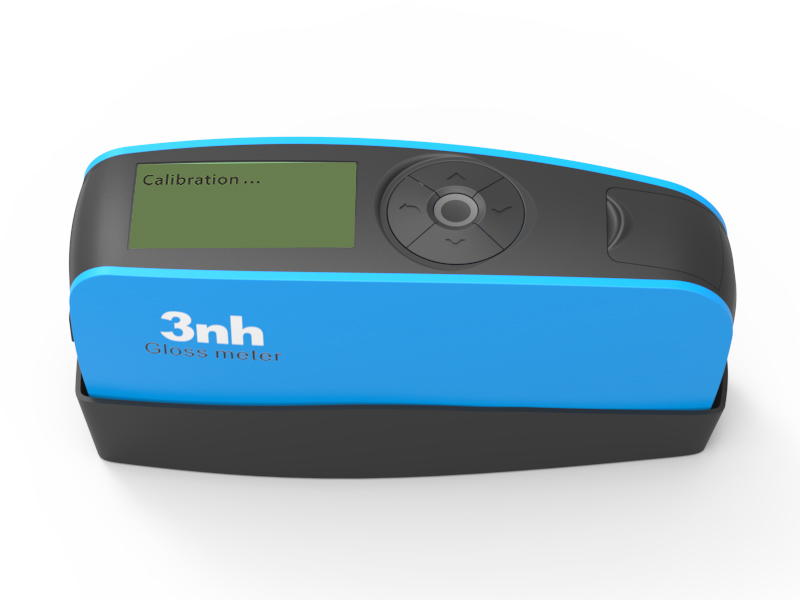
Supports calibration and has the function of automatically checking the calibration standard plate to ensure the accuracy and reliability of long-term measurement.
5. Lightweight and portable
Lightweight design, easy to carry, not only suitable for precise measurement in the laboratory, but also convenient for flexible application in the production site.
6. Excellent inter-instrument difference and repeatability
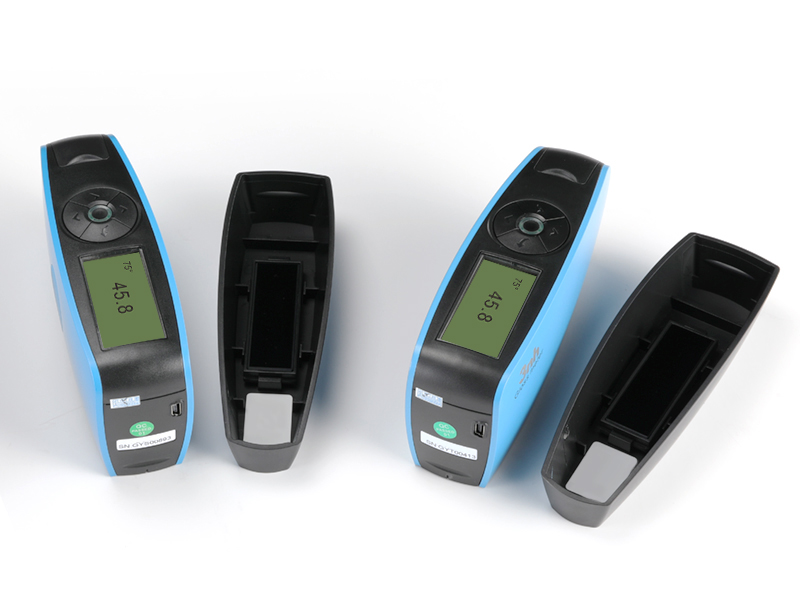
The repeatability is very good, within the measurement range of 0-100GU, the repeatability can reach ±0.2GU, and within the measurement range of 100-150GU, the repeatability can reach ± 0.2 % GU .
7. High-precision measurement
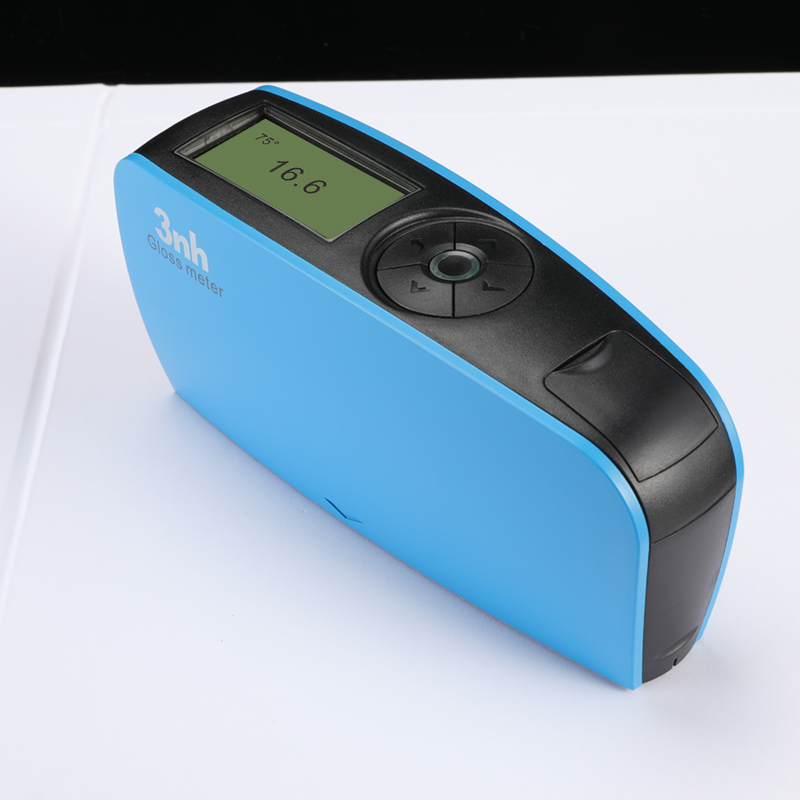
Carefully adjusted measurement system and optical path layout ensure stable and accurate gloss measurement.
8. PC quality management software
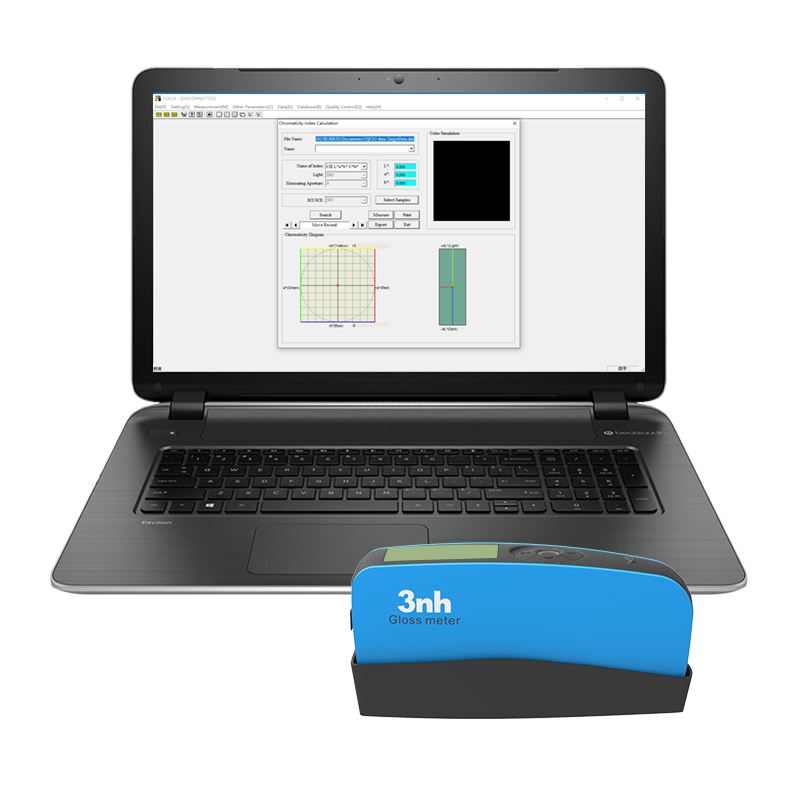
The instrument is equipped with powerful PC data management software, which supports online measurement, printing test reports, data transmission and more functional expansion.
75° High Precision Gloss Meter YG75 Technical Parameters
| Product number | YG75 75° High Precision Gloss Meter |
| Measuring Angles | 75° |
| Measuring spot (mm) | 75°:4x6 |
| Measuring range | 75°: 0~150GU |
| Graduation value |
0~100GU:0.1GU; 100~150GU:1GU |
| characteristic | It can be used for gloss measurement and gloss data transmission in paint, ink, coating, paper printing, plastic electronics, furniture, ceramics, electroplating, hardware, marble and other industries. |
| Measurement Mode | Basic mode, statistical mode, continuous mode, quality control mode |
| measure time | 0.5 seconds |
| Repeatability |
0~100GU:±0.2GU ; 100~150GU:±0.2%GU |
| accuracy | Meet the requirements of JJG 696 working gloss meter |
| Automatic shutdown time | 30~120 seconds optional |
| Long time calibration | Auto Identify Calibration Board and Calibrate / manual calibration |
| language | Simplified Chinese, English, Traditional Chinese |
| Storing data | 35,000 (15,000 in basic mode and continuous mode, 10,000 in quality control mode, 10,000 in statistical mode) |
| Display | 2.3 inch black and white display |
| size | 160X52X84mm |
| weight | About 300g (including calibration box and batteries) |
| power supply | 1 AA alkaline battery or NiMH rechargeable battery, can measure more than 10,000 times; or use USB port |
| interface | USB |
| PC Software | GQC6 quality management software, quality inspection report printing, more functional expansion |
| Operating temperature range | 0~40°C (32~104°F) |
| Storage temperature range | -20~50°C (-4~122°F) |
| humidity | Less than 85% RH, no condensation |
| Standard accessories | USB data cable, instruction manual, GQC quality management software (download from official website or provided by after-sales), calibration board |
| Optional accessories | Micro printer, Bluetooth 5.0 adapter |
| Note | The technical parameters are for reference only, please refer to the actual products sold |
1. When I received NH310/NH300 colorimeter and perform measurement, why the measured data is abnormal?
After receiving NH310/NH300, you have to perform white and black calibration manually when first starting.
2. In which condition, manual white and black calibration and auto calibration are required for NH310?
a. It’s needed to perform manual calibration for NH310 when first starting.
b. In the subsequent starting, NH310 will perform auto calibration at startup. No need to perform manual calibration.
c. Suggestion: it’s best to perform manual calibration once a week or when NH310 measured data is not accurate.
3. In which condition, manual white and black calibration for NH300 is required?
a. It’s needed to perform manual calibration for NH300 when first starting.
b. In the subsequent starting, no need to perform manual calibration.
c. Suggestion: it’s best to perform manual calibration once a week or when NH300 measured data is not accurate.
4. How to replace NH310 measuring aperture?
There are three measuring apertures for NH310: Φ8mm (standard accessory), Φ4mm (standard accessory), extended Φ8mm (optional accessory)
a. Turning on
b. Removing measuring aperture, install the needed measuring aperture.
c. Select “Settings-Aperture Setting” in main menu to select corresponding measuring aperture.
d. After selecting aperture, the instrument will display “White and Black Calibration” interface. White and black calibration must be performed.
e. Replace completed.
5. CQCS3 (Color Quality Control System) Installation
a. Before installation, please Copy CQCS3 folder to your computer and don’t remove any files in CQCS3 folder.
b. Double-click the setup.exe to install CQCS3 software.
c. Then double-click Install.bat under the CQCS3\USB_Driver file to install the driver.
d. Detailed installation information please read the "Installing Software" under CQCS3 User manual.doc.
6. How to check communication port?
a. Connect colorimeter to the PC with USB cable.
b. Turn on the colorimeter to enter main menu. Select “Comm” and press “Enter” key to start communication.
c. Right click on “My Computer” on the desktop. Click “Manage” -> “Device Manager” -> “Ports”, you can see similar display as “SCI USB2Serial (COM6)”.
d. Click “Settings->Communication Parameters” in CQCS3 software interface. Select the corresponding port in “Serial Port”.
7. After completing CQCS3 installation, how to solve the problem if it display “! USB Device” or “! SCI USB2Serial (COM6)” when checking the communication port?
a. Right click “! USB Device” or “! SCI USB2Serial (COM6)”, “Update Driver” -> “Install from a list or specific location (Advanced)” -> “Next” ->“Include this location in the search” -> “Browse”, specify USB driver file path “CQCS3\USB_Driver”, click “Next”. Then it will install successfully.
b.Detailed installation information please refers to “2.2 Installing USB Driver” in Color Quality Management System User Manual.doc.
8. Notes for First Using CQCS3 Software
a. Users must specify Standard File Name, Sample File Name and Sample Database File Name when first use.
b.Standard File is use to store standard measurement data. Sample File is used to store sample measurement data. Sample Database File is used to store the measured data exported from sample records.
9. How to solve the problem when “Connection Timeout” occurred?
a. When the colorimeter is disconnected to the PC, “Connection Timeout” will occur. At the moment, you have to check whether the USB cable is well connected the colorimeter and the PC. Then you can re-plug the USB to try out.
b. After ensuring the colorimeter is connected to the PC with USB cable, turn on the colorimeter and enter the main menu. Select “Comm” and press “Enter” key to start communication.
c. Turn off CQCS3 software, and reopen it.
10. How to solve the problem when the interface display "USB Disconnect"
a. Check whether the USB cable is connected. If not, please connect it. Check whether the connection is effective. You can re-plug the USB cable to test.
b. If the USB cable is connected well but the interface still displays "USB Disconnect", please re-start the colorimeter and enter "Menu" -"Comm"to start the communication.
c. Change the USB cable or change the USB port in you PC.
11. How to solve the problem when the colorimeter cannot be turned on in the condition of battery-powered?
a. If this phenomenon occurred, it means the battery power is not enough. You need to charge the battery.
b. When charge the battery, please insert the battery to the instrument, and plug in the adapter to charge the battery. After 5 minutes, the instrument can be turned on.
c. If the instrument still cannot be turned on after charging 5 minutes, you can pull out the adapter and re-plug in to check it. Or repeat this operation.
d. If the instrument still cannot be turned on after charging 5 minutes, you can turn off the colorimeter and turn on it again to check it. Or repeat this operation.
e. If you have tried all the methods above but the colorimeter still cannot be turned on, please change the battery.